


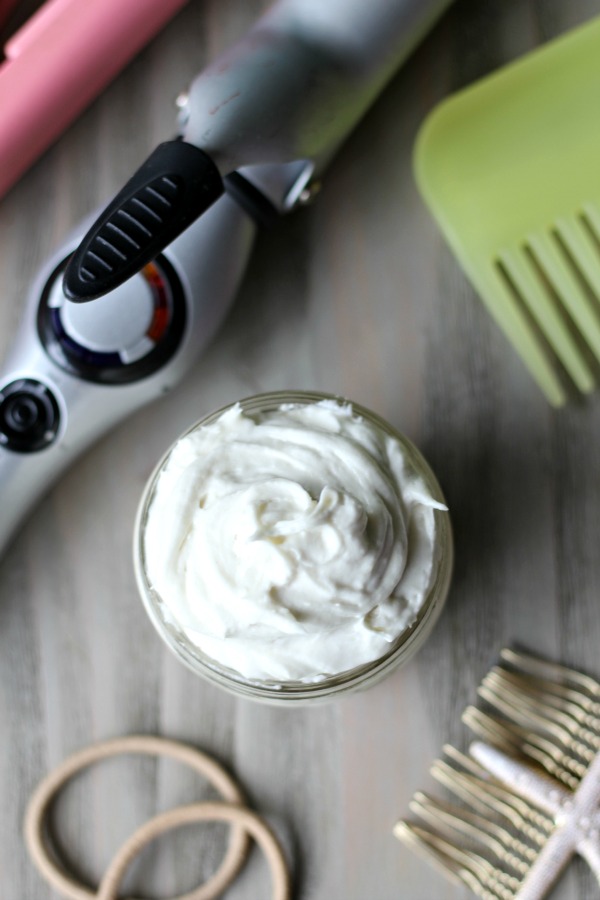
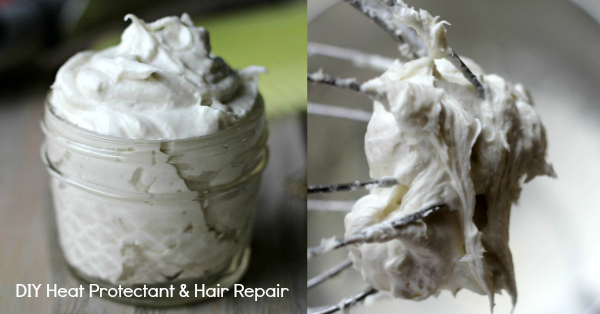
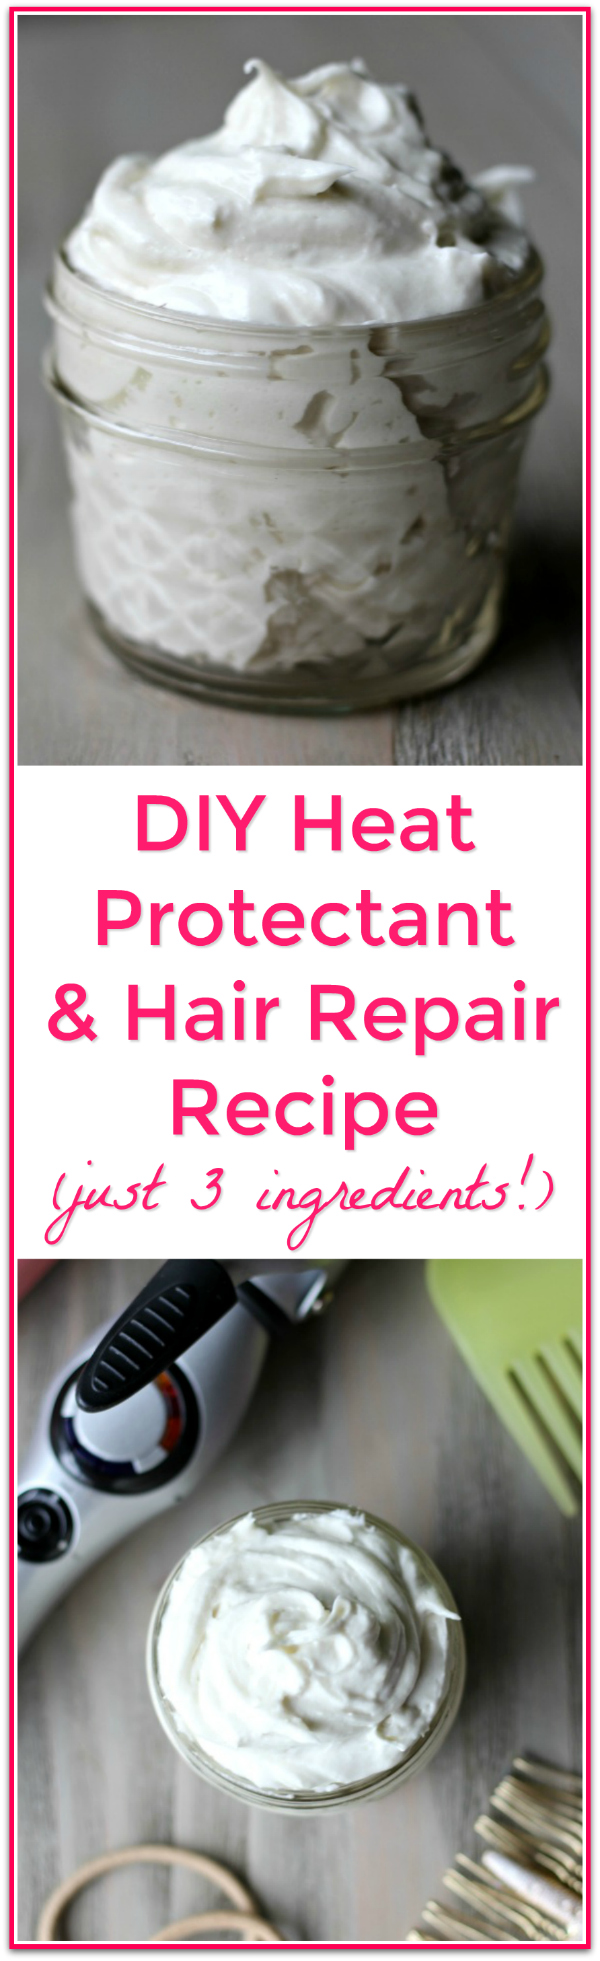
A 3 ingredient, easy DIY Heat Protectant and Hair Repair Styling Cream Recipe with results that even impressed my hair stylist! Simple, natural ingredients to deeply nourish and protect damaged or heat styled hair.
DIY Heat Protectant and Hair Repair Recipe
Ever since I’ve been trying to grow my hair longer, I prefer a few quick swipes of the curling iron to give a more polished look to my normally wild and crazy naturally curly hair. The problem is, using curling iron heat without a heat protectant fries my hair!
And after a few months of using a curling iron a few times a week on my color treated hair plus totally slacking on using my favorite collagen hair mask, I was paying the price. I had majorly fried ends and a lot of breakage. My hair was in pretty rough shape for the first time in years.
But I didn’t want to give up my curling iron curls if I could help it!
My hair stylist said if I want to continue using heat on my hair…and still want hair…I really need to use a heat protectant. The problem is, commercial heat protectants are loaded with some pretty harsh chemicals and silicones that I try to avoid …even the ones from organic and “natural” brands!
I tried using a few various kinds of oils for heat protection, but the amount I needed to adequately protect my hair from my heat tools left my hair way too greasy and weighed down.
And then I experimented with some homemade heat protectant recipes I found on Pinterest with similar results….greasy and weighed down hair. Ugh!
I almost gave up and just bought some commercial stuff when I decided to try one more thing: shea butter.
Shea Butter for Natural Heat Protection
I’ve heard that shea butter contains properties most similar to commercial heat protectants and silicones. And after using it, I’m a believer.
But my main beef with shea butter is that in its natural state, it’s quite hard and really annoying to get out of the jar. If you’re a regular reader, you probably know by now that I have no patience for stuff like that.
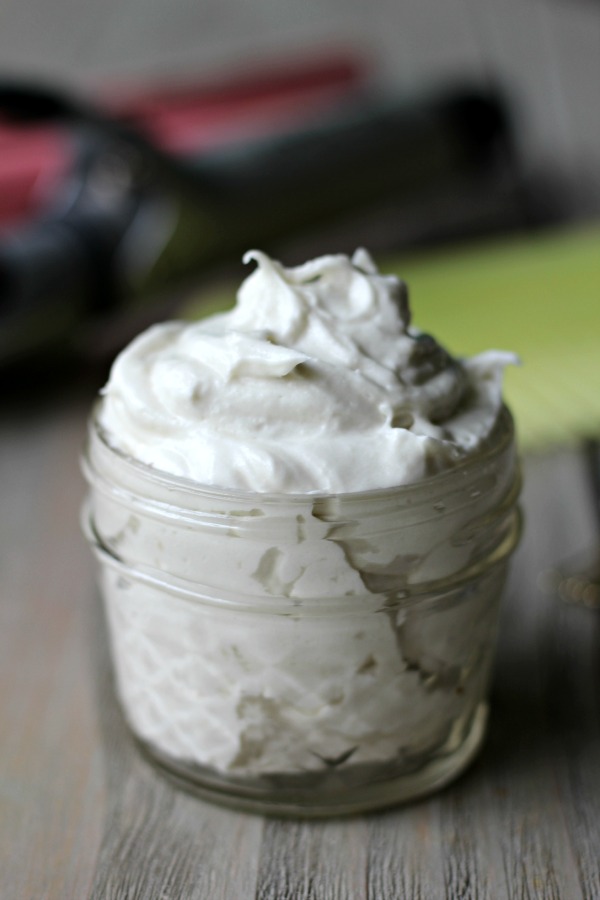
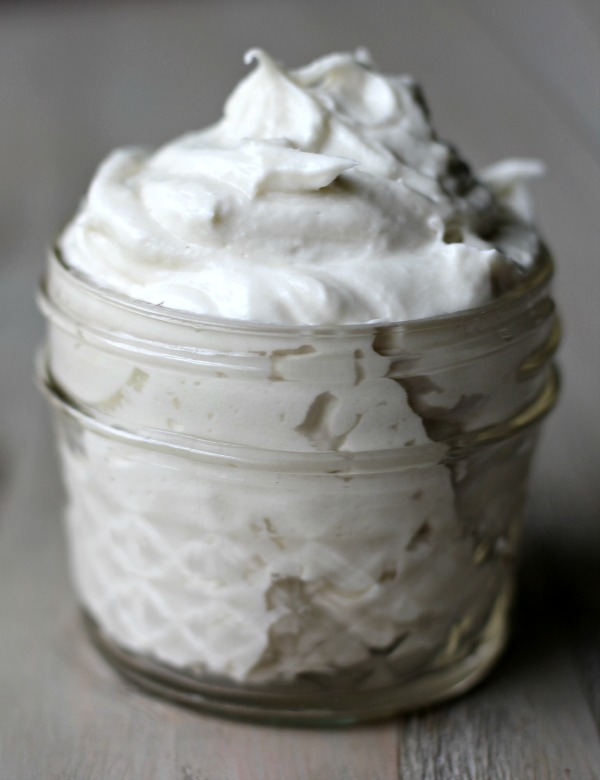
But whipped shea butter? Oh, let me tell you! It’s such a beautiful thing. Silky. Light. Fluffy. I swoon so hard over the stuff.
And the best news? After using my simple homemade heat protectant recipe, I have no more greasy, weighed down or damaged hair. Just beautiful, heat protected, strong, bouncy, shiny, heat styled curls that are healthy and nourished.

AND shea butter repairs hair like no other! After just 2 weeks if using my simple DIY heat protectant recipe, my hair was like new again. Even my hair stylist approved and was impressed with the dramatic change! Woohoo!
DIY Heat Protectant and Hair Repair Recipe Ingredient Benefits:
Shea butter
Because shea butter contains high contents of antioxidants, essential fatty acids, vitamins A, D, E, and F, and UV ray protection, it is extremely nourishing to damaged hair. Shea butter is known to have properties most similar to commercial heat protectants and silicones. It helps to add shine, eliminate frizz, deeply moisturize, protect from heat, nourish and transform hair.
Many shea butters are gritty, but not the one I’ve been using! I’m on my 4th jar of THIS particular shea butter and absolutely love it and feel confident about recommending it. I get it HERE.
Avocado Oil
The avocado oil serves to help the shea butter stay a nice, fluffy, silky and whipped consistency. Avocado oil also has an extremely high smoke point so you can safely use it up to 520 degrees F making it perfect for heat styling! But the good news doesn’t stop there.
Avocado oil is lightweight and isn’t too greasy like a lot of other oils so it’s the ideal choice for non greasy, non weighed down hair. Plus, avocado oil is amazing for hair health! Avocado oil is at the top of the list of foods containing the most amount of Vitamin E, making it exceptional for healthy, nourished hair. I like using THIS avocado oil
Essential Oil Recommendations for Hair Repair (Pick the one specific to your hair type as described below):
Geranium Essential Oil
Geranium essential oil is especially effective for those with dry, damaged and/or color treated hair. It conditions, repairs and promotes, shiny, healthy, deeply nourished hair. (This is the one I pick! I use THIS particular one)
Rosemary Essential Oil
Rosemary essential oil is great for all hair types, but those with oily hair will especially benefit from it. It promotes healthy, strong, non greasy hair. Rosemary essential oil is not suited for pregnant women.
Peppermint Essential Oil
Peppermint essential oil can be used for all hair types, but those with dry, thin hair will receive the most benefit. It conditions hair and promotes hair growth. Not suited for pregnant women.
Lavender Essential Oil
Lavender is ideal for all hair types. It moisturizes and promotes healthy, strong, nourished hair.
How to Make DIY Heat Protectant and Hair Repair:
- ½ cup shea butter (I use THIS one)
- 2 tablespoons avocado oil (I use THIS)
- 10 drops essential oil of choice* see notes below for my essential oil recommendations for your hair type (I personally use THIS one)
- Add your shea butter and avocado oil to a mixing bowl or stand mixer.

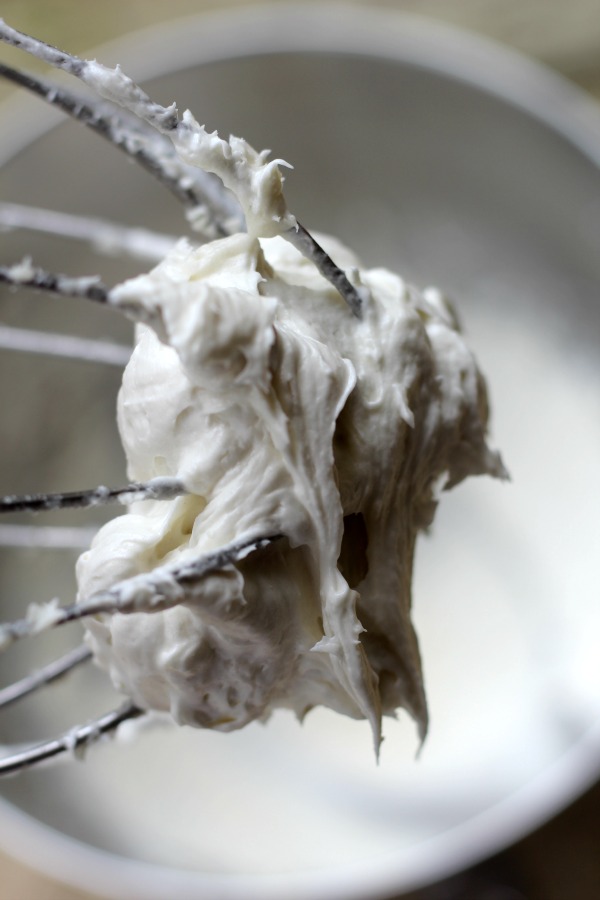
- Then, mix with an electric hand mixer or stand mixer (with whipping attachment) on high speed until light and fluffy (about 5-10 minutes).

- Add in your essential oil of choice. Mix again for about 10 more seconds or until combined. Scoop in an 8 ounce jar or two 4 ounce jars.

- Use sparingly on damp or dry hair before heat styling. Use from mid hair to ends, avoiding roots and scalp.
- Keep in a cupboard for up to 2 years.
Dry, Damaged and/or Color Treated Hair:
Geranium Essential Oil
Oily Hair:
Rosemary Essential Oil
Dry, Thin Hair:
Peppermint Essential Oil
All Hair Types:
Lavender Essential Oil
If you are looking for a super simple and extremely effective homemade heat protectant or hair repair cream, I think you’ll love this one as much as I do! It makes such a big difference!!!
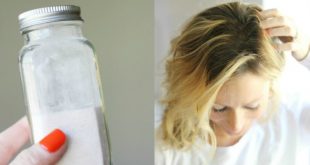
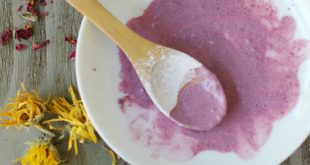
And if you want to add a double punch of nourishment to your hair, give my easy DIY collagen hair mask a try (Click HERE to take you to the post)! I can’t believe how fast the homemade collagen hair mask along with this homemade heat protectant transformed my hair!

Pin Homemade Heat Protectant and Hair Repair HERE:

Do you think you could use this and then apply gel immediately afterwards? Do you think hair needs protection from the heat of hair dryers?
Thanks!
Hello Kelly
I liked your video and recipe for hair. Please, can you send me the address for the Collagen Powder?
Thank you again
Thank you Kelly for the tips and recipe for the Heat Protectant. Hope it works for me, it sure would be a BIG improvement!!!
I also want to tell you how much I enjoy and learn from your posts.
Thank you and God Bless!
Gladys
This sounds perfect for me Kelly! I’m always afraid to use any heat on my hair because it is sooooo dry and fragile at the ends. Never even thought of using shea butter in my hair. And the avocado oil makes perfect sense since it is so heat tolerant. I even have all of the ingredients already…although I’m ordering your shea butter when I run out!
This is awesome Kelly! So excited to try this out on my hair! I love that you try to stay as chemical free as possible. Out of curiosity, what do you use for facial cleansers and moisturizer?
Thanks, Brenna! I generally use coconut oil as my eye make up removal and face cleanser, but about 2-3 times a week, I’ll do a deep cleanse with this face soap bar and I love it so much: http://amzn.to/2hklQQ3 . It’s very gentle, won’t strip the skin, but cleanses so well. If you have oily or acne prone skin, I would recommend that same companies charcoal bar…http://amzn.to/2ggodD7 . I’ve recommended it to a lot of my friends with acne and they rave over it.
For moisturizer, I make my own coffee bean oil (http://www.primallyinspired.com/anti-aging-coffee-bean-face-oil-recipe/) It’s so easy to make…just 2 ingredients and I swear it’s the best thing I’ve ever put on my face. I’ve tried a ton of different things over the years and never had my skin respond so well to something before. It seems like a lot of my readers feel the same way about it, too 🙂 Hope that helps!
I was excited to find this recipe but pretty disappointed when I tried it out today. How much do you put in your hair? I used less that a quarter sized amount and my hair is somewhat long. It felt gritty (I used the same shea butter you used) and my hair looked gross – weighed down and very greasy. Any ideas about why this did not work out?
Bummer, Justine! I do have some suggestions that I think could help. I think foremost, you should play around with the amount you apply to find the perfect balance for you. Shea butter performs very similar to commercial heat protectants and applying too much of a commercial heat protectant product will also make your hair greasy and weighed down. Personally I think a quarter size amount is waaaaay too much, even for really long hair. I just dip one of my fingers in and get such a small amount and rub it on my palms to form a super light coating. It’s no where near a quarter size amount and my hair is now about 4 inches below my shoulders.
As far as the grittiness, that is really disappointing! I know shea butter is notorious for being gritty, but I’ve had a lot of luck so far with the brand I linked to. I’m not sure what advice to give for that issue. (can anyone out there help with that? Is there a solution?)
And if you’ve tried varying different amounts and still can’t get it to work well with your hair, you can always use the whipped shea butter for body lotion. The essential oils listed are great for skin health, too and shea butter makes such a nice moisturizer. Crossing my fingers you can get it to work for your hair, though 🙂
This answer if for Justine. I make my body butter with shea. I generally melt it down in a heatproof bowl over a small pot of water (double boiler). After it melts
completely and cools a bit then add your liquid oils such as the avocado and essential oils. Let it sit until it starts to get a little opaque and filmy looking You could speed the process up by putting it in the fridge for a few minutes. Once the consistency between liquid and beginning to be solid then you can whip it up like whip cream. That should take care of any grit.
Thank you for sharing these tips, Mary!
What do you think you could use instead of avocado oil? I use African Shea butter on my skin daily for eczema– it’s amazing!!
Any oil will work, Liz! I like using avocado because it seems to be the most lightweight/non-greasy, but rosehip oil, almond oil or jojoba oil would be great, too.
What about sunflower oil? My face breaks out over every little thing that touches it. I read sunflower oil will not clog my pores.
that will work!
That’s so good to hear, Shelly! I think it works especially well for curly hair, too!
Could you re link the Shea butter you use? It’s pulling up to a different product. Thanks!
Hi Rachel,
Thanks for letting me know about the link. HERE is the shea butter that I still use and recommend. Enjoy!
OMG I’ve just made and tried this. My hair looks absolutely smooth, supple and best of all NO frizz. You don’t need a lot at all. Thank you soooo much for this! X
Awesome, Bev!!
Hi Kelly
Thank you sooo much for this recipe!! I have been avoiding hair protestants for a long time as I could never find an appropriate “natural” heat protectant. I am finally growing out all the colour-treated and bleached lengths of my hair and was searching for something to protect my new virgin hair.This recipe is amazing!!! I made it this afternoon!!!! I didn’t use essential oils (as they were too expensive), but I did have 100% Argan Oil in my cupboard which I added to the recipe instead (about 1 tablespoon).
I used a veryyyy small amount, rubbed it on my palms to ‘warm’ up the product and put it through my hair. It has eliminated ALL the frizz in my hair, calmed down my split ends and my hair looks thick and amazing!
I cannot wait to see the results as I continue to use this!
THANK YOU
xxxx
So awesome, Mish! I love your addition of Argan oil – totally trying that the next time I make it! And you are right – the key is to use a verrrrryy small amount!
Hi. I was going to try the recipe above. However, it says not to use it on roots or scalp. Since I straighten my hair from the roots, I wouldnt be able to protect it there. What do you think? Thank you in advance! 🙂 And thank you for sharing rhe recipe!
Hi Denise, I understand your concern! I don’t think this recipe will work for your hair, though if you want root heat protection. I’m afraid it would make your roots look too greasy!
I was thinking that too. If you ever find a good one for roots, please share! 🙂
This looks like such a lovely recipe! And I like that you included all the info and benefits of each product!
I was curious if I could use mango butter instead of Shea butter for this recipe? Thank you!
Yes, definitely!
Thank you for this! It’s great for hair, but it’s also great for skin. In the winter, my husband’s thumbs crack right next to the nail. It’s very painful and no store-bought lotion has ever really helped that much (the best was Curel, but it didn’t heal completely or stop the cracks altogether). On a hunch, I gave him a batch of this to try this winter and it worked! He puts a little on every night and at other times throughout the day. The cracks have almost stopped completely and when they do appear, this protectant heals them within a day or two.
Awesome, Jill! Thanks for sharing that great tip!
After 10-15 minutes, mine still never got to the “light and fluffy” stage. It stayed more like whipped butter than whipped cream… Think I can still use it? I have naturally oily hair so I’m afraid it’ll weigh it down too much without the extra air in it. Two things I did on accident were warming up the Shea Butter to get it out of the jar easier and accidentally adding the essential oil to the Shea Butter and avocado oil mixture prior to mixing. Thanks for your help!
It still should be good to use, Rachel! A little goes a long way, so start with a super small amount and go from there. It makes an incredible skin moisturizer and hair mask if you find it’s weighing your hair down. Enjoy!
Oh I simply love this. I’m not using as a heat protectant since I don’t heat style my hair. But this is amazing for split ends!!. I’ve had split ends for about two years and nothing worked. But after applying this my hair ends feel so soft I can’t stop touching it.
Thank you so much for the recipe.
Lots of love from India.
So wonderful, Anushka!
A success! I’ve been buying conventional heat protector, but it comes in a lot of plastic packaging, which I am working to eliminate. I made this with Almond Oil instead of Avocado Oil and Geranium Oil. The first day, I added some to my already dry (fine, frizzy damaged) hair and it made it very greasy and lanky. However, after I washed it today, I applied a teeeensy amount and it has worked great. Hair is soft,shinier, and not greasy at all. Thank you!!
Thank you for sharing, Teri! Yes, it’s the same for me – only a small, small, small (!) amount is needed!
I tried this and it made my hair look really greasy. I have long hair and I only did the bottom half. I probably added too much but even after whipping it it was still pretty thick so it seems like it would be hard to apply sparingly.